Create an AWS account
Follow these steps to create and activate your new AWS account.Initial setup
- Visit the AWS home page.
- Choose Create account.
- Enter your root user email address.
- Create and confirm your password.
Account information
- Select Personal or Business for your account.
- Enter your contact information.
- Accept the AWS Customer Agreement.
If you select Business, you should avoid individual email address. For
example,
it.admins@example.com is better than paulo.santos@example.com.Payment setup
- Add a valid payment method.
- Verify your billing address.
Identity verification
- Enter your phone number.
- Receive and enter the verification code.
- If there’s a CAPTCHA, then enter the displayed code and choose Submit.
- If you’re an India-based account, then complete additional verification if required.
Choose a support plan
- Select from available AWS Support plans.
- Choose Complete sign up.
Account activation typically takes minutes, but it can take up to 24 hours.
When account activation is complete, you receive a confirmation email.
Best practice
Enable MFA for root user
After creating your AWS account, enable multi-factor authentication (MFA) for your root user to add an extra layer of security.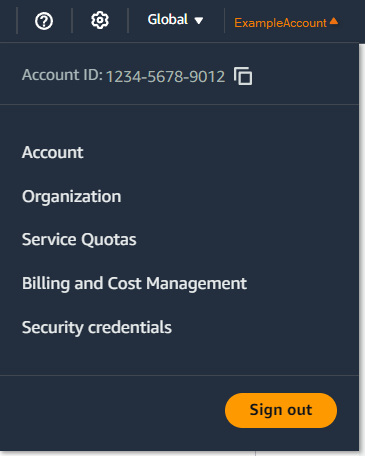
- Sign in to the AWS Management Console using your root user credentials.
- On the right side of the navigation bar, choose your account name and select Security credentials.
- In the Multi-Factor Authentication (MFA) section, choose Assign MFA device.
- Type a Device name, choose Authenticator app, and select Next.
-
Configure your authenticator app:
- Open your virtual MFA app (such as Google Authenticator, Microsoft Authenticator, or Authy)
- Select Show QR code and scan it with your app, or select Show secret key to manually enter it
-
Complete the registration:
- Enter the six-digit code from your app in the MFA code 1 box
- Wait up to 30 seconds for a new code to generate
- Enter the new code in the MFA code 2 box
- Choose Add MFA